Contents
If you’re looking to improve your lawn’s health, DIY lawn aeration is a practical solution. It helps relieve soil compaction and promotes healthy growth. To get started, you need to assess your lawn’s specific needs and choose the right time for aeration. Knowing the right techniques and tools can make a significant difference in your results. Ready to transform your yard? Let’s explore the essential steps you need to take.
Key Takeaways
- Assess your lawn for signs of compaction, such as water pooling and difficulty pushing a garden fork into the soil.
- Choose the right time to aerate: late summer for cool-season grasses and late spring for warm-season grasses.
- Prepare your lawn by mowing it short and ensuring the soil is slightly moist before aeration.
- Use a core aerator for optimal results, as it removes soil plugs and promotes deeper penetration.
- After aeration, fertilize appropriately, water deeply but infrequently, and monitor your lawn’s health regularly.
Choose the Right Time for Aeration
Choosing the right time for aeration is essential to guarantee your lawn thrives. Seasonal considerations play a significant role in determining the best moment for this task. For cool-season grasses, late summer or early fall is ideal, as the weather conditions are typically milder, allowing the grass to recover and grow robustly.
If you have warm-season grasses, aim for late spring to early summer when temperatures rise, promoting healthy root development.
Pay attention to the weather conditions before aerating; avoid doing it during periods of drought or extreme heat, as stressed grass won’t benefit. Additionally, after rainfall or irrigation provides the necessary moisture for effective aeration, making the soil easier to penetrate.
Determine Your Lawn’s Aeration Needs
Before you start aerating, it’s important to assess your lawn’s specific needs to guarantee the process is effective.
Begin by looking for soil compaction signs, such as water pooling, brown patches, or difficulty in pushing a garden fork into the ground. These indicators suggest that your lawn is likely due for aeration.
Next, conduct a grass type analysis; knowing whether you have cool-season or warm-season grass can help you determine the best time and method for aeration. Different grass types respond uniquely to aeration, so understanding your lawn’s composition is vital.
Additionally, consider the overall health of your lawn if it’s thin or struggling, aeration can rejuvenate it, improving air, water, and nutrient penetration.
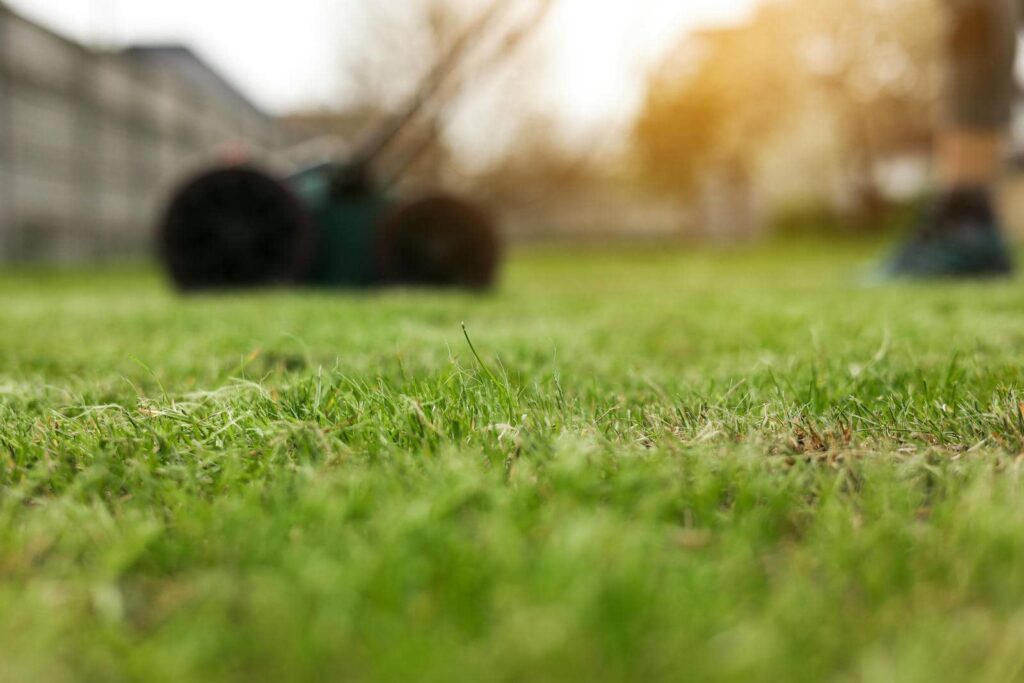
Gather the Necessary Tools
Gathering the right tools is essential for effective lawn aeration, and you’ll need a few key items to get started.
Using proper aeration tools not only makes the job easier but also guarantees you achieve the best results for your lawn’s health.
Core Aerator: This tool removes plugs of soil, allowing air, water, and nutrients to penetrate deeper.
Garden Fork or Spike Aerator: Ideal for smaller lawns, this option uses spikes to create holes in the soil.
Rake: A sturdy rake helps you clear any debris after aerating.
Don’t forget about tool maintenance! Keep your aeration tools clean and sharp to guarantee they’re ready when you need them.
Regular maintenance extends the life of your tools and makes your aeration process more effective.
With the right equipment and a bit of care, you’re well on your way to a thriving lawn.
Prepare Your Lawn for Aeration
With your tools ready, it’s time to prepare your lawn for aeration.
Start with a lawn condition assessment to identify any problem areas. Look for compacted soil, bare patches, or excessive thatch. These clues will help you focus your efforts where they’re needed most.
Next, check the soil moisture. Aerating dry soil can lead to ineffective results, so ideally, you want your lawn to be slightly moist, but not soggy. If it hasn’t rained recently, consider watering your lawn a day or two before aeration. This will help the aerator penetrate the soil more easily.
Lastly, mow your grass to a shorter height to guarantee your aeration process runs smoothly.
Aerate Using the Proper Technique
Start by choosing the right aeration method for your lawn’s needs. Using the proper technique guarantees your lawn thrives and benefits from the aeration process.
Here are three effective aeration methods you might consider:
- Core Aeration: This involves removing small soil plugs, allowing air and nutrients to penetrate deeper.
- Spike Aeration: This method uses a tool with spikes to create holes, but it may compact soil around the holes.
- Manual Aeration: Ideal for smaller lawns, using a handheld aerator lets you control the process more closely.
Regardless of the method you choose, focus on aerating when your soil is moist but not soggy.
Move in straight lines and overlap slightly to guarantee even coverage.
Remember, using proper technique will lead to a healthier lawn, enhancing its resilience and beauty.
Enjoy the process, and soon you’ll see the positive effects on your green space!
Follow up With Lawn Care Practices
After aerating your lawn, it’s important to follow up with proper care to maximize the benefits of the process.
Start by implementing a fertilization schedule tailored to your grass type. This helps replenish nutrients lost during aeration, promoting healthy growth. Choose a high-quality fertilizer and apply it according to the manufacturer’s instructions for best results.
Next, pay attention to your watering techniques. After aeration, your lawn needs adequate moisture to recover. Water deeply but infrequently, allowing the soil to absorb moisture without becoming waterlogged. This encourages deep root growth, which is essential for a flourishing lawn.
Additionally, consider mowing your grass at the right height to further support its recovery.
Monitor and Maintain Your Lawn’s Health
Regularly monitoring and maintaining your lawn’s health is essential for sustaining its beauty and vigor.
To keep your lawn thriving, follow these practical tips:
Conduct soil testing annually to check nutrient levels and pH balance.
Establish a consistent watering schedule, ensuring your grass receives 1 to 1.5 inches of water weekly.
Keep an eye out for pests and diseases, acting swiftly to address any issues.
Recap
By following these seven simple tips for DIY lawn aeration, you’ll be well on your way to a lush, healthy yard. Remember, timing is key, and a little preparation goes a long way. Once you’ve aerated, proper follow-up care will guarantee your lawn thrives. Don’t let your hard work go to waste keep an eye on your lawn’s health, and you’ll reap the rewards of a beautiful outdoor space. After all, a well-tended lawn is the cream of the crop!
Recent Posts
Why Seasonal Lawn Care Matters in Grand Rapids?
In Grand Rapids, the fluctuating climate demands a strategic approach to lawn care. Seasonal changes
5 Essential Practices for a Healthy Kentwood Lawn
Imagine a lush, green carpet stretching across your yard, inviting you to step outside and
Tips for a Thriving Lawn in Kentwood
Many homeowners overlook the importance of selecting the right grass type for their specific thriving